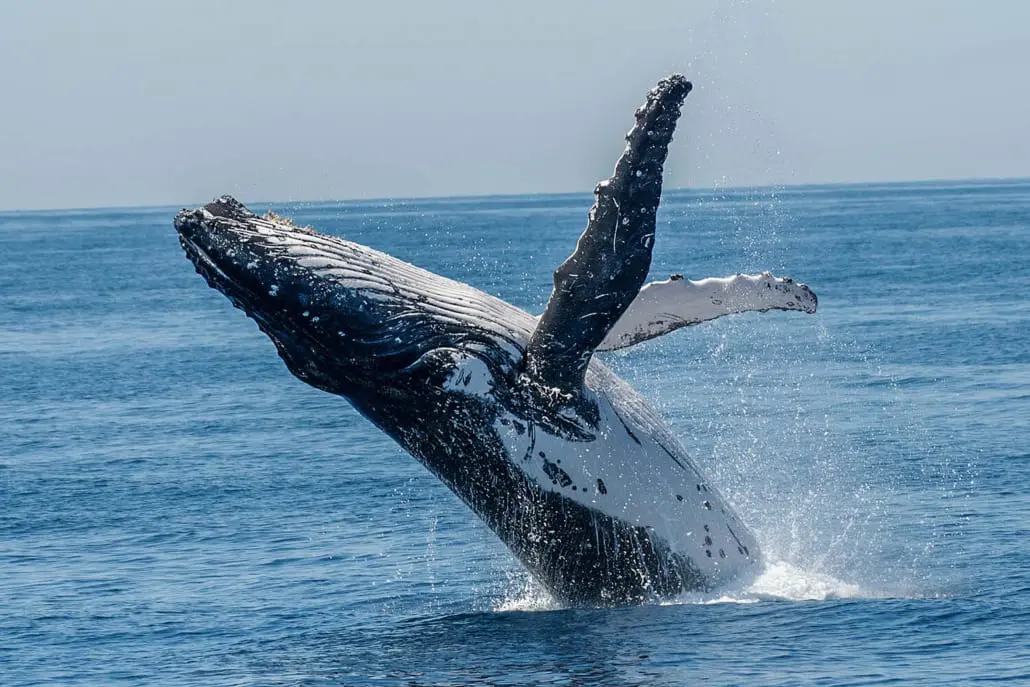
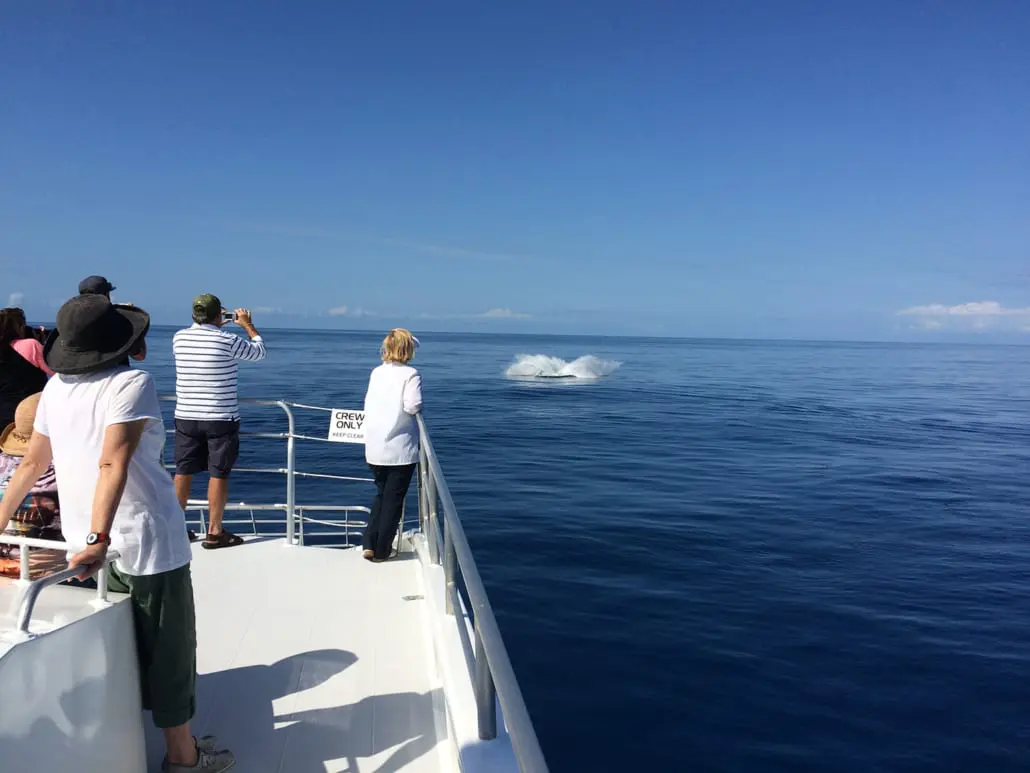
A breach lasts under two seconds and you rarely get a warning. Everything below is about being ready before it happens rather than reacting after.
Settings that work
Set continuous autofocus with a wide tracking area, burst mode on, and shoot RAW if you have the card space — there's a lot of recoverable detail in a dark whale against bright sea.
Lens choice
A 70–200mm covers most of the day. Longer than 300mm becomes hard to hold steady on a moving deck and too tight when a whale surfaces beside the hull — and it will. Keep a wide lens or your phone accessible for exactly that moment; some of the best frames of the season are shot at arm's length.
Technique on a moving boat
Brace your feet apart and absorb the swell with your knees rather than leaning on the rail — the rail moves with the boat, your legs don't have to. Keep both eyes open so you can see a second whale entering the frame. Pre-focus on the footprint and wait, rather than hunting for focus mid-breach.
Shooting on a phone
Shoot video, not stills — then pull frames afterwards. Lock exposure and focus by holding on the water before the action, don't pinch-zoom (crop later instead), and wipe the lens: salt spray is invisible on a phone screen and ruins every frame.
The shots worth planning for
The fluke-up dive (predictable — the back arches first), the pec slap sequence, the blow backlit by low sun, and the eye. Knowing what each behaviour looks like a second before it happens is the real advantage: read humpback whale behaviour before you come out.
BOOK YOUR SHOOT DAY